Cluster
Introduction
Xima® Formcycle provides the option to setup a cluster network offering a hot standby failover mechanism by connection multiple master servers instances over a network, so that they can monitor each other and replace another server in case failure occurs. Currently, the master servers can be set two different modes: Master and Failover.
Master
A server in this mode can be used without any restriction and provides all services. Normally, the state of this server will be active.
Failover
A server in failover mode deactivates certain services and functions such as frontend server connections and time-based state transitions. Normally, these servers will be in the state idle. You can still view forms and access the administration interface.
Failover process
When the network detects a failure of a server of type master (eg. caused by a server or network failure), the available failover server negotiate and designate one server as its replacement. Commonly this will be an idle failover server that has been part of the cluster for the longest time.
Now the designated server activates all deactivated services and attempts to establish a connection to all known frontend servers with the option connect automatically set. The state of this server changes to active (failover) and functions as a replacement for the master server without any restrictions.
Should the master server join the cluster again, it will replace the failover server, unless its cluster ID has changed. In this case, the failover server will deactivate all non-required services again and return back to the idle state. The master servers's state changes back to the active state.
Firewalls
In order to setup a cluster, the servers will need to be able to communicate with each other over the network. When setting up the configuration properly, this is possible even with an activated firewall. Depending on the protocol, it may be neccessary to open certain ports, especially when using UDP.
Setup
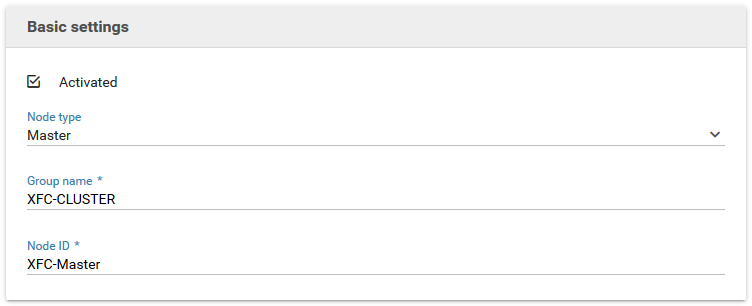
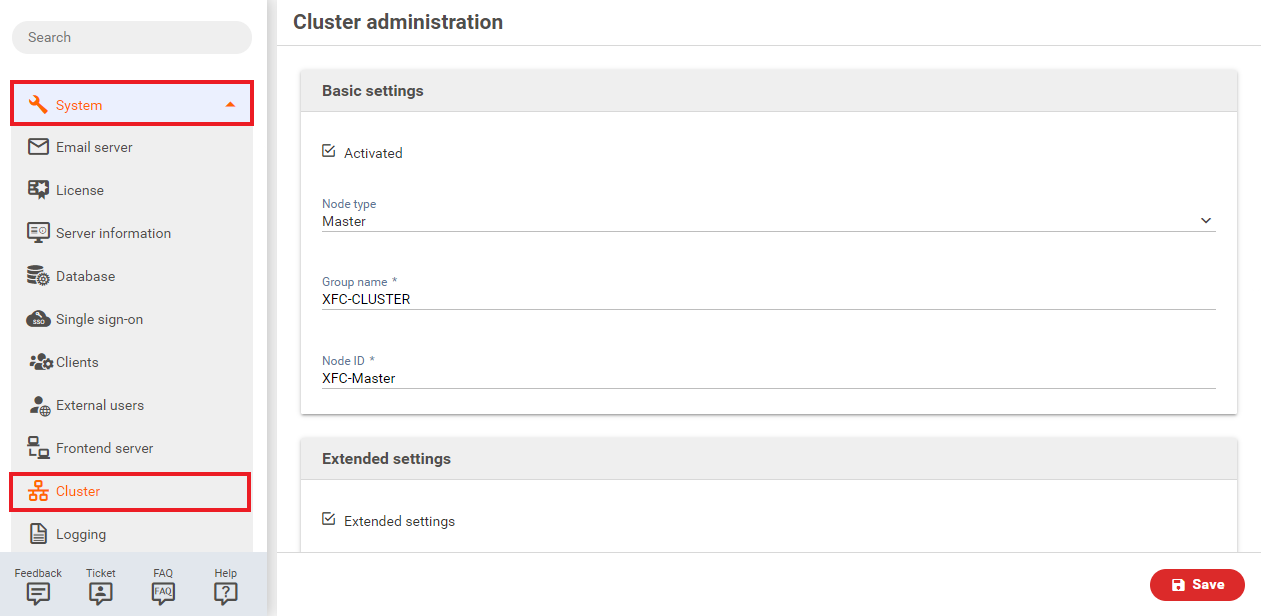
Activated
Activates or deactivates the cluster mode of this master server. When the cluster mode is deactivated, all services are available and activated, but you cannot use this server as part of a cluster network and it will not be replaced by a failover server in case of failure.
Node type
Sets the node type of this server, ie. either master or failover. master servers are active and provide all formcycle services, while failover servers are replacement servers taking over when a master server fails and will deactivate certain services while idle.
Group name
An identifier for the cluster network. All servers that should form a network must be given the same group name.
Example: XFC-Cluster
Node id
An identifier for the master server. This id must be unique within a group.
Example: XFC-Master
Advanced settings
When advances settings are activated, more settings will be shown. Usually this is not required and you can leave these settings at their defaults, but it may be neccessary for certain special network configurations or non-standard port settings.
Overview

The overview shows all servers currently part of the cluster with the current group name. Furthermore, it also shows their id, type, state, address (logical network address) and the time they joined the cluster network.
The current server you are using to display the overview will be marked in bold.
Advanced settings
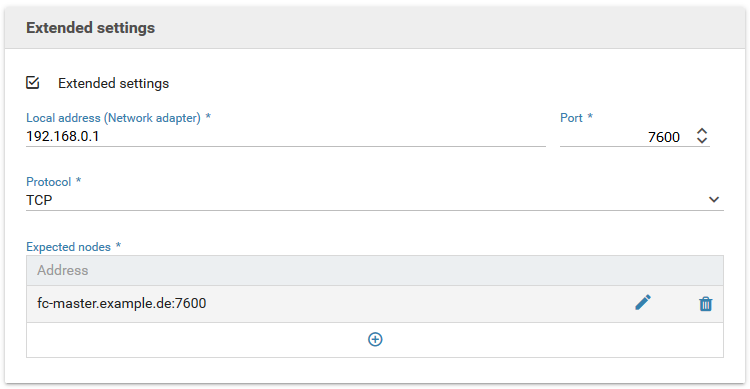
Network protocol
You can change the network protocol to be used. Available options are UDP (connectionless protocol) and TCP (connection-oriented protocol).
Local address (network adapter)
Here you can set the IP address or hostname and the port of the local server to be used, ie. the bind address. Note that the provided address must match a local network adapter. If it does not match, an error message will be displayed when trying to save the options and attempting to establish a test connection to the cluster network.
Also, make sure that the entered port is opened for the chosen protocol. When entering a value of 0 for the port, the system will attempt locate an opened port temporarily.
Using a different external address
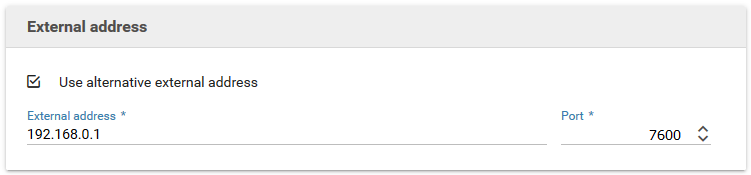
When you activate this switch, you can provide an alternative external IP address or hostname pointing to the same local network adapter. This may become neccessary for more complicated network topologies such as when the server is not visible directly due to a firewall. In this case, you need to provide an external address or a connection to the server cannot be established from the cluster network. Furthermore, it may be neccessary to setup the firewall properly and activate port forwarding to the server.
External address
The external IP address or hostname and port for the server. The default is 0, in which case no external address and only the locale address will be used.
Multicast adresse and Port (UDP only)

Here you can configure the UDP port and address for the UDP network discover, ie. for locating other servers of the cluster network. The server will send a multicast signal to the entered address and wait for other servers of the cluster network. For this to work it is neccessary that the same multicast address and port has been set for all servers that should be part of the cluster network.
IP addresses must comply to the IPv4 standard, valid addresses therefore range from 224.0.0.0 to 239.255.255.255.
When setting the port to 0, the server will attempt locate an open temporary port automatically.
Expected nodes (TCP only)
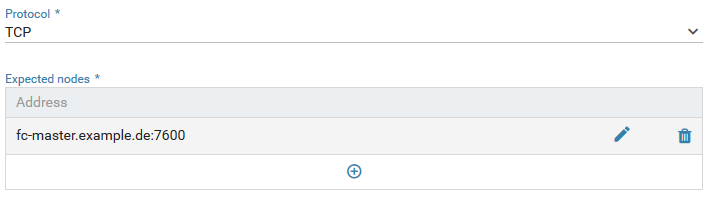
When using the TCP protocol it becomes neccessary to provide a list of all expected cluster servers that may be part of the network. This is because network discovery via multicasting is not possible with this protocol, so that you must enter the addresse manually.
Click the plus icon to add a new entry to the list, and the pen icon to modify an existing entry.
Servers addresses entered must conform to the following format: <IP adress or host name>:<Port>
Note that when using a host name instead of an IP address, the server will be ignored silently when the host name resolution fails. It is recommended therefore to use IP addresses in favor of host names.
When you are done entering the address, you must click the check mark to register this address, or the cross icon to cancel the input.