Update


The current version of Xima® Formcycle can be downloaded directly from our update page. If you should require them, we also provide access to previous versions of Xima® Formcycle.
For each version, you can find three different files:
- formcycle.war
- Contains the master server with the backend and the Xima® Formcycle Designer. For the most common use case, you only need this file.
- frontend-server.war
- Contains the frontend server that only serves and accepts forms.
- frontend-server-inbox.war
- The frontend-server with additional support for accessing the inbox on the frontend server.
For certain version, we also provide plugins you can download.
Step 1: Download the current version
The current version of Xima® Formcycle can be downloaded directly from our update page.
Step 2: Replace the old version
- Remove the current WAR file on the application server from the Tomcat. In Windows, for example, this is the folder C:\Program Files\Apache\Tomcat 9.0\webapps. The folder formcycle is automatically removed. This folder must be deleted before you continue.
- Upload or copy the new WAR file to the webapps directory.
Step 3: Database update
When you go to the login page, you may get a notifications that a necessary system update is available. If it does, sign in with a system administrator account and proceed as follows:
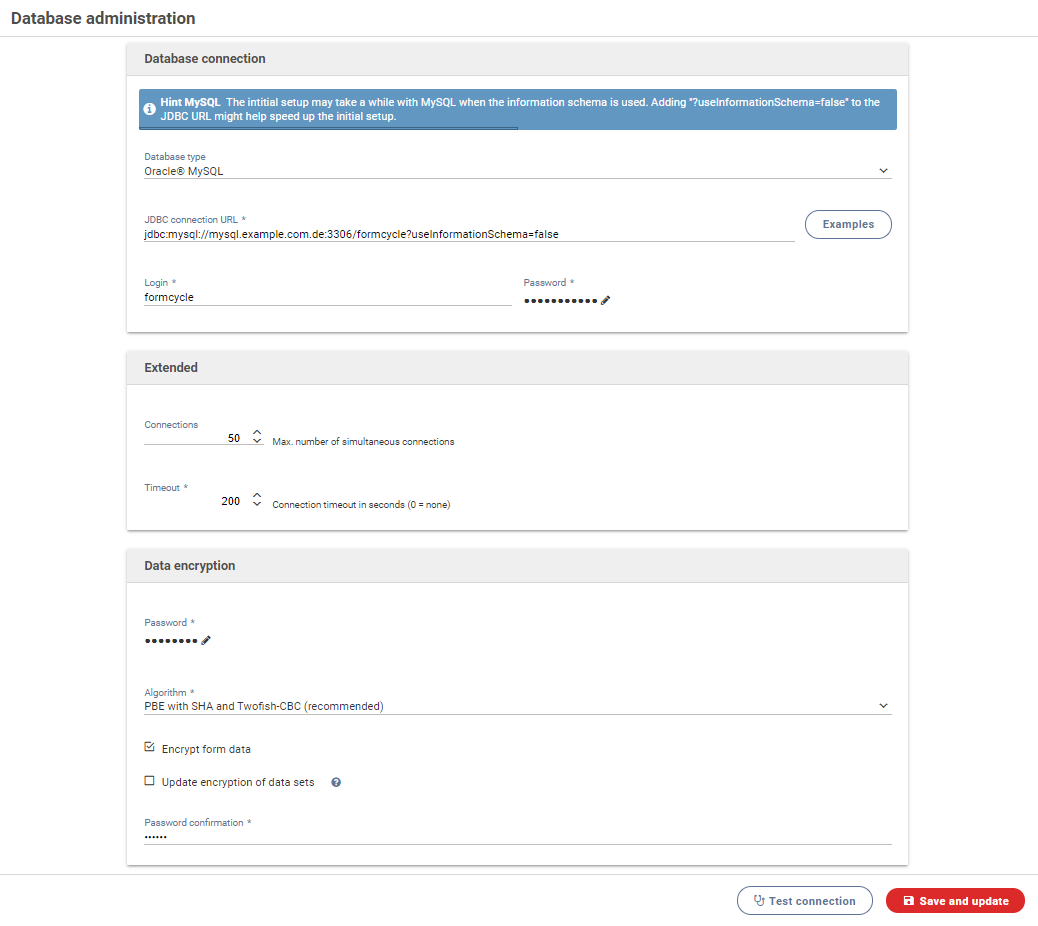
- After signing in as system administrator (sadmin), you will be redirected to the database administration page. Here the settings should be checked again.
- After clicking the Save and update button, the database and machine are updated.
- The individual steps are displayed here. When all of them have been completed, the update is finished.
You should logout and continue your work with a regular user account (and not as a system administrator).
Please note that plugin updates may also be required. To do this, you must check the Customer Cloud to see if you already have the latest version installed. The update can be done under System > System plugins or Client > Plugins, using the button Update plugin bundle. Please make sure that the correct plugin is selected.